Folder Resource
Lyceum allows a teacher to display several course files together within a folder. These files can be different types and they also can be uploaded in one go (as a zipped folder which is then unzipped). These files can also be added one at a time to an empty folder on the course page. Follow these steps to add a folder resource to your course:
Note that students will need to have the correct software to be able to open them the files
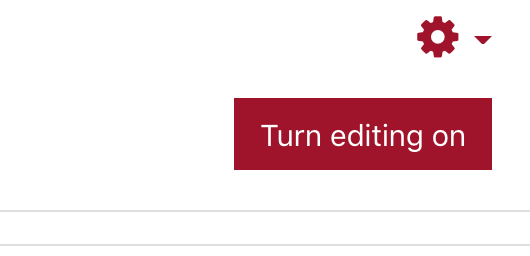
- To begin, turn ‘editing on’ within your Lyceum course
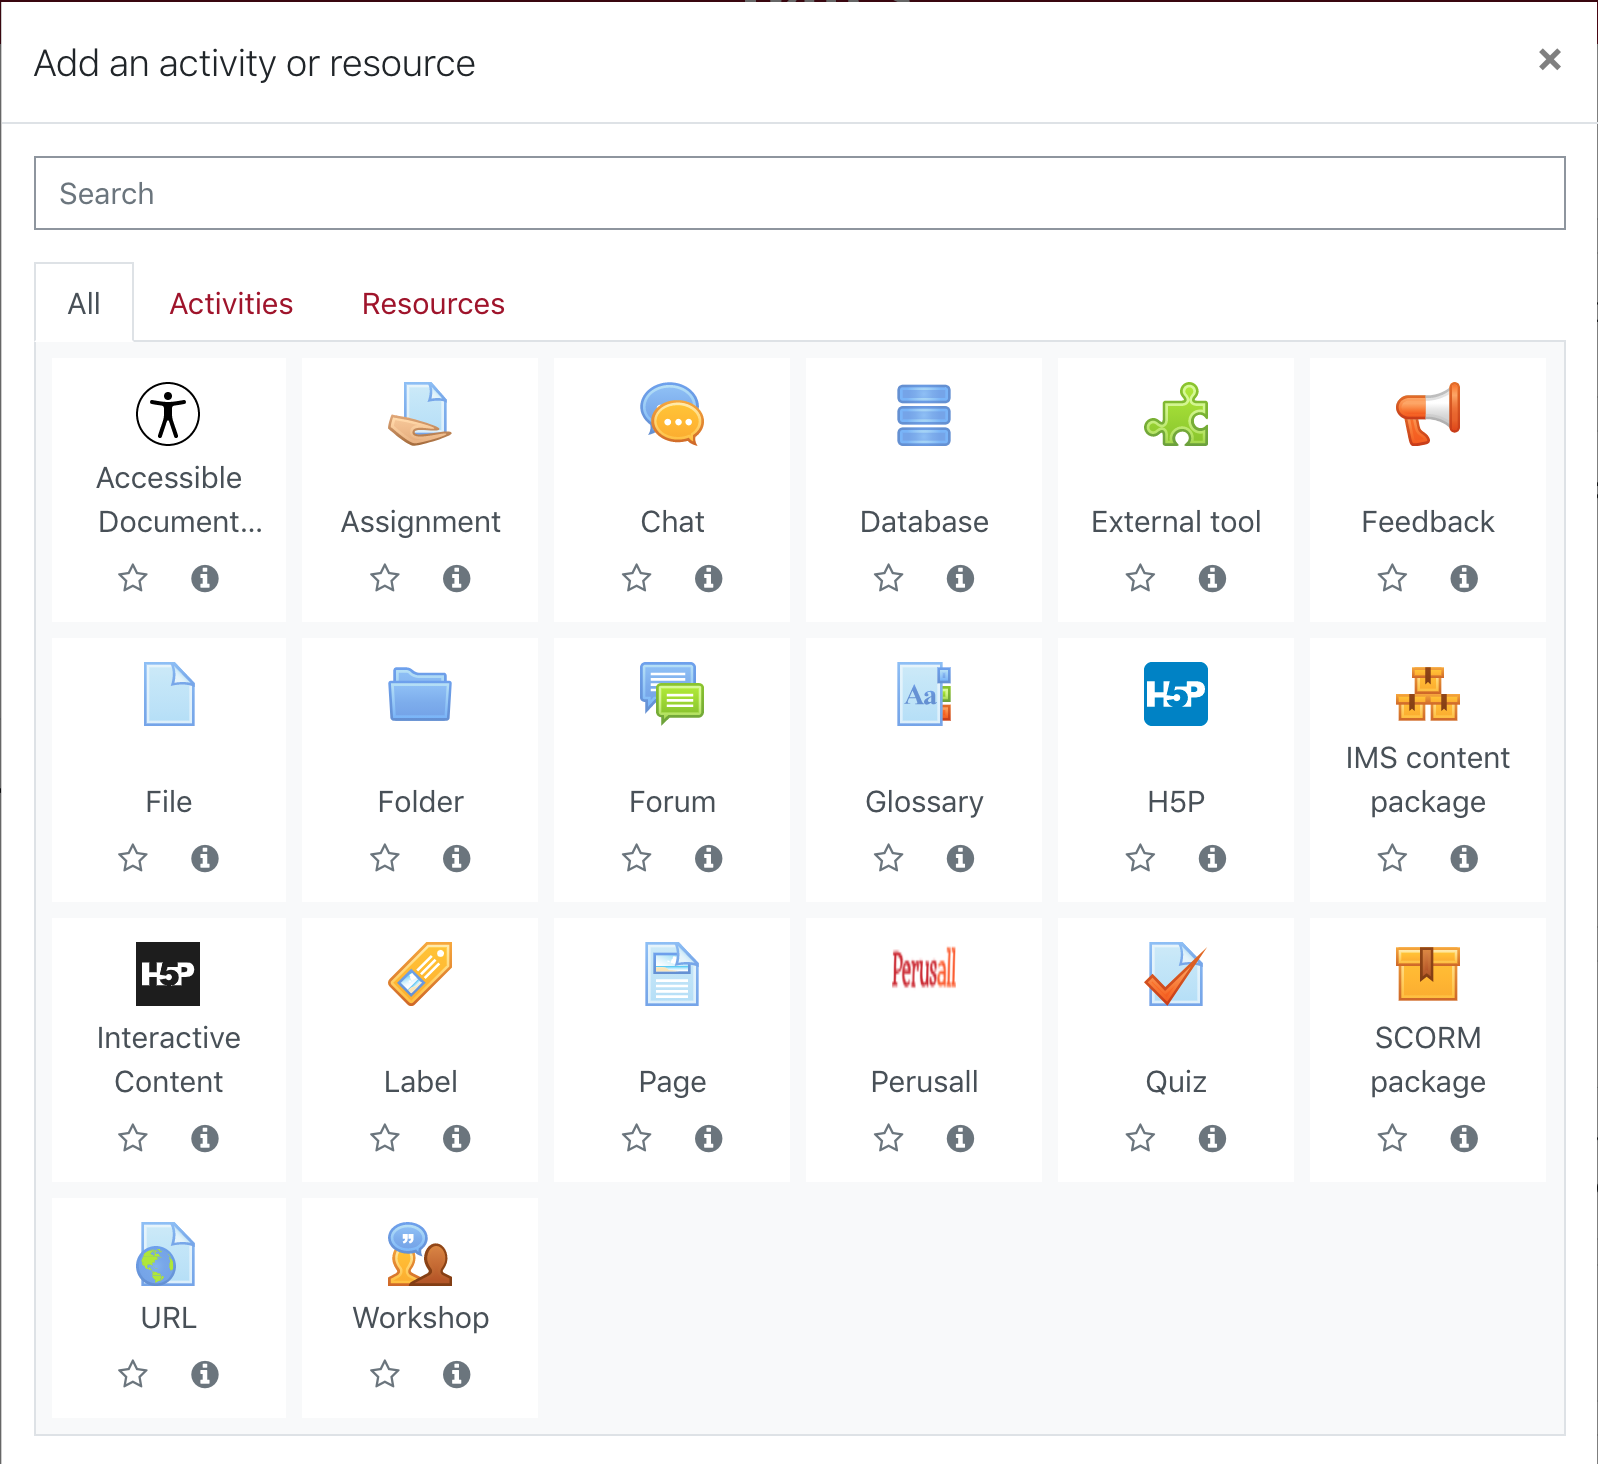
- Select ‘Add an activity or resource’

- From the list that appears, scroll down to the bottom under ‘Resources’
- Select ‘Folder’
- This will direct you to the ‘Adding a new Folder’ page
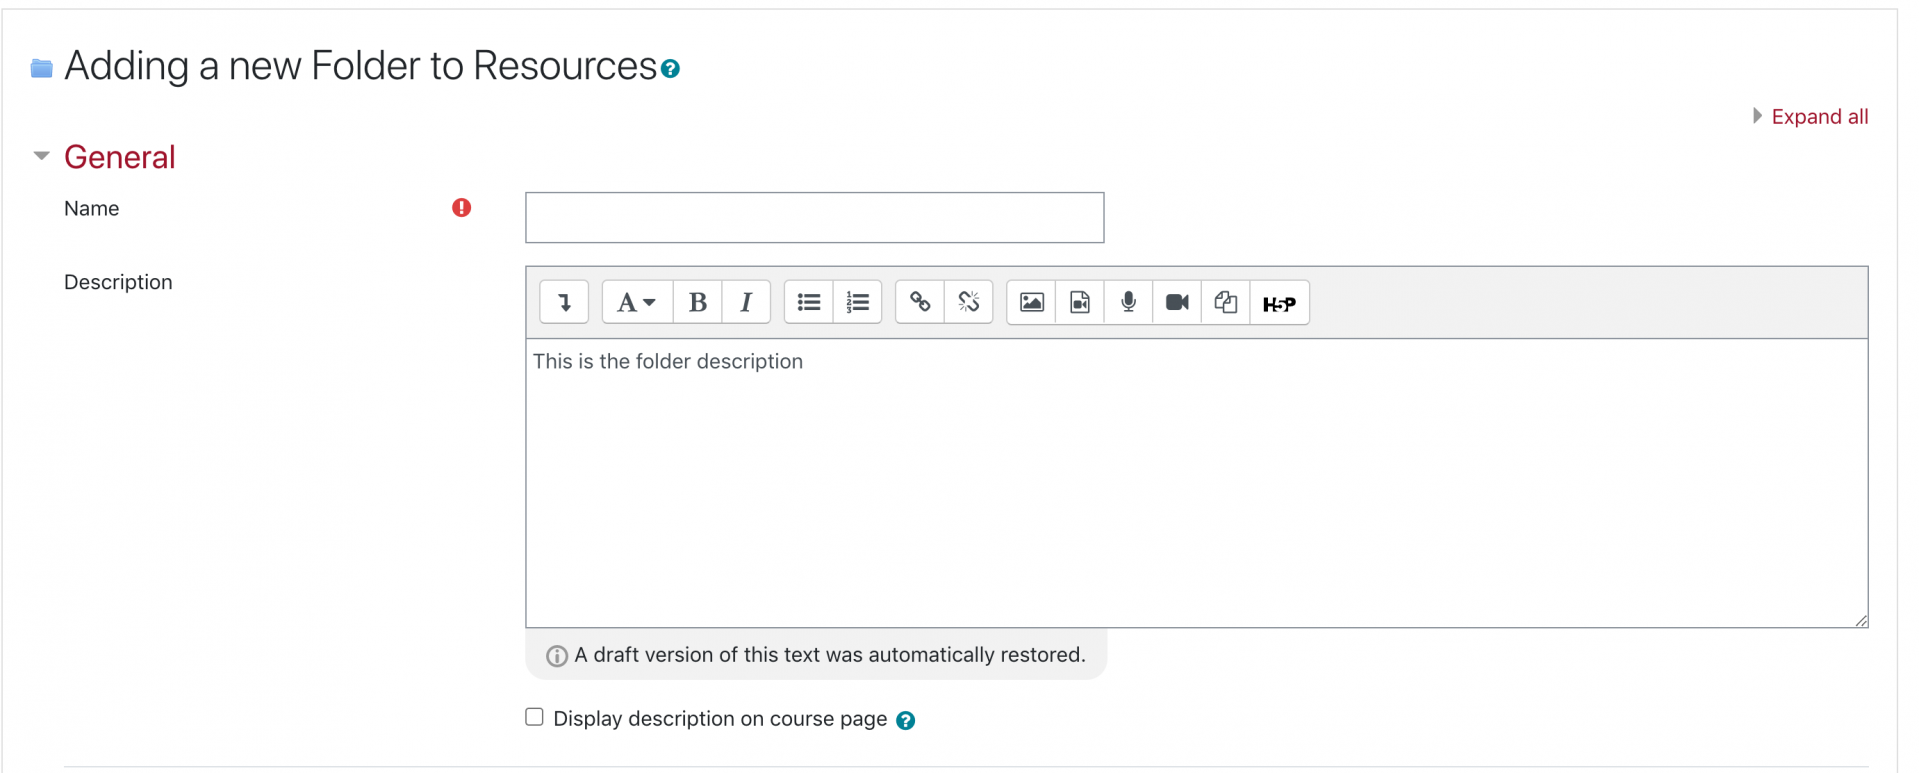
- Under the ‘General’ settings section, you can add the folder title in the ‘Name’ field and the folder description within the ‘Description’ field
- Under the ‘Content’ settings, this is where you can add files for your folder within the ‘Files’ field. As mentioned, you can add multiple files within a folder
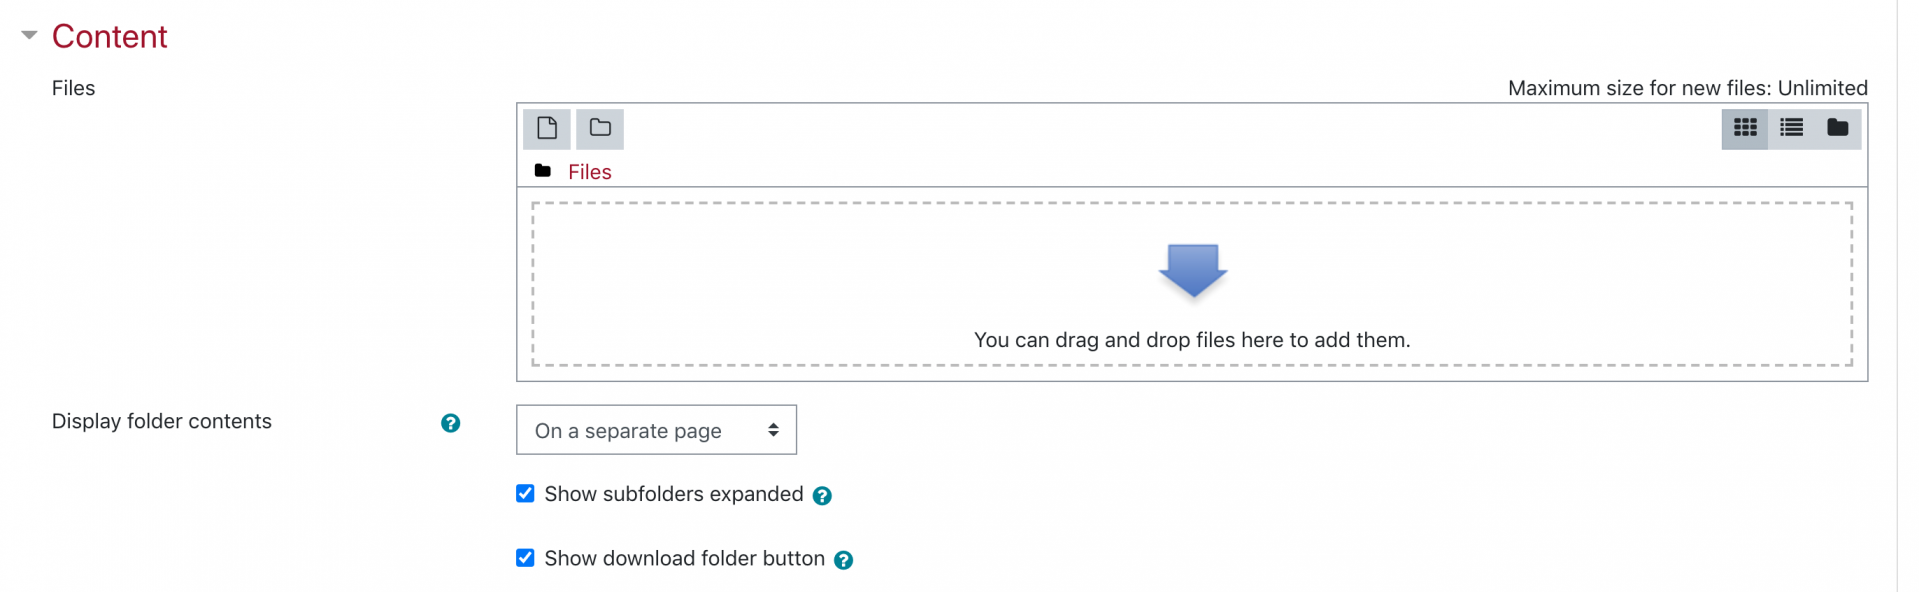
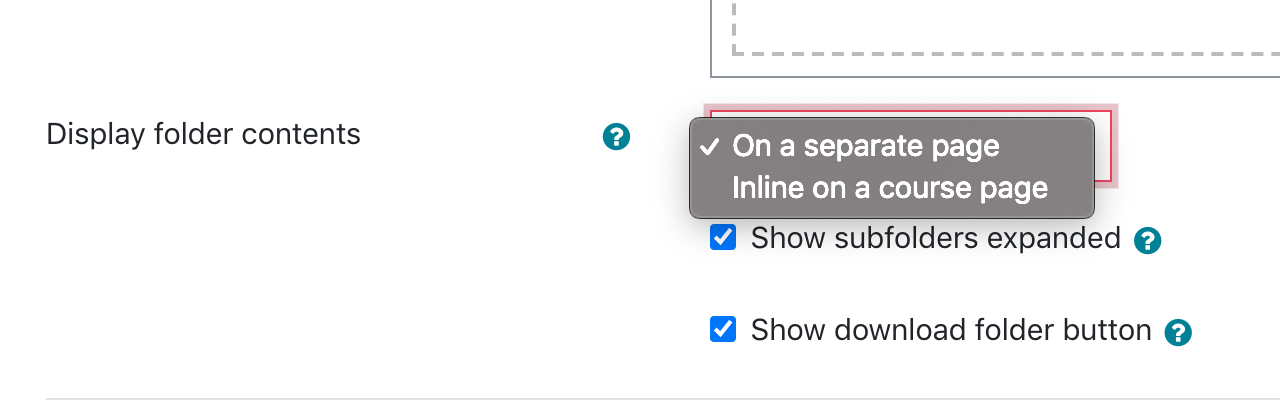
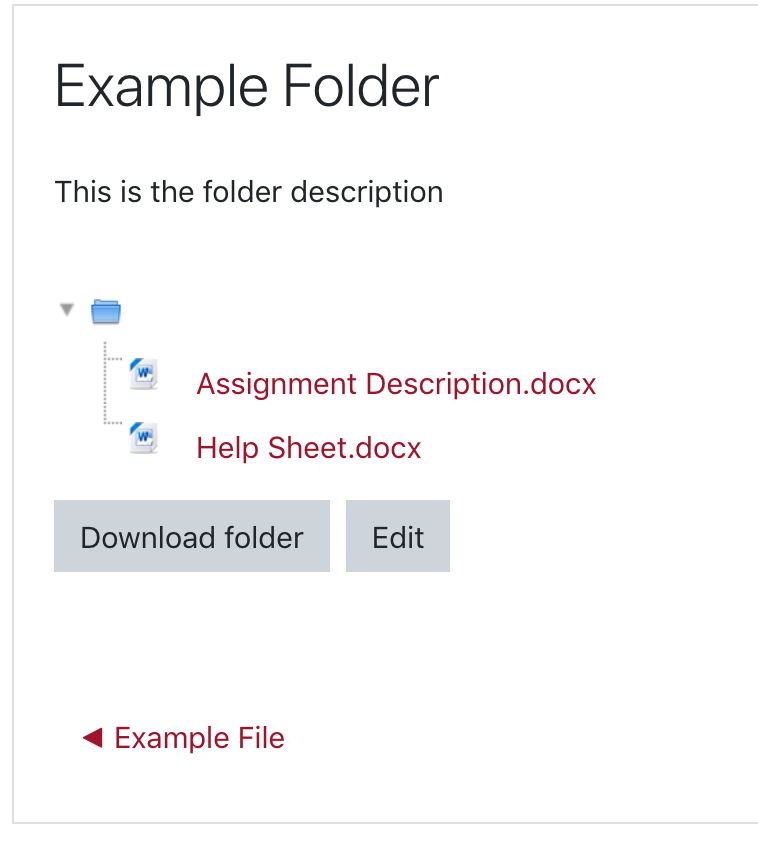
- The ‘Display folder contents’ field is defaulted to ‘On a separate page’, where the folder will appear on your Lyceum course as just the folder
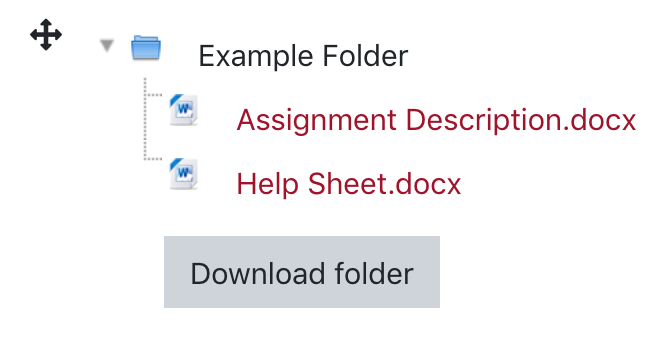
- If you select ‘Inline on a course page’ from the drop-down menu, the folder and it’s content will appear within your Lyceum page
- Once you are done customizing, select ‘Save and Display’ at the bottom on the page