Files Resource
Lyceum provides an easy way for teachers to present materials to their students right within their course. These files can includes word-processed documents, slideshows, presentations, .pdfs, image files, etc.. Follow these steps to add a file resource to your course:
Note that students will need to have the correct software to be able to open them the files
- To begin, turn ‘editing on’ within your Lyceum course
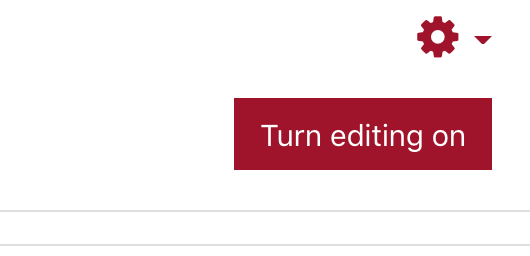
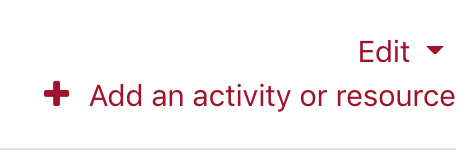
- Select ‘Add an activity or resource’
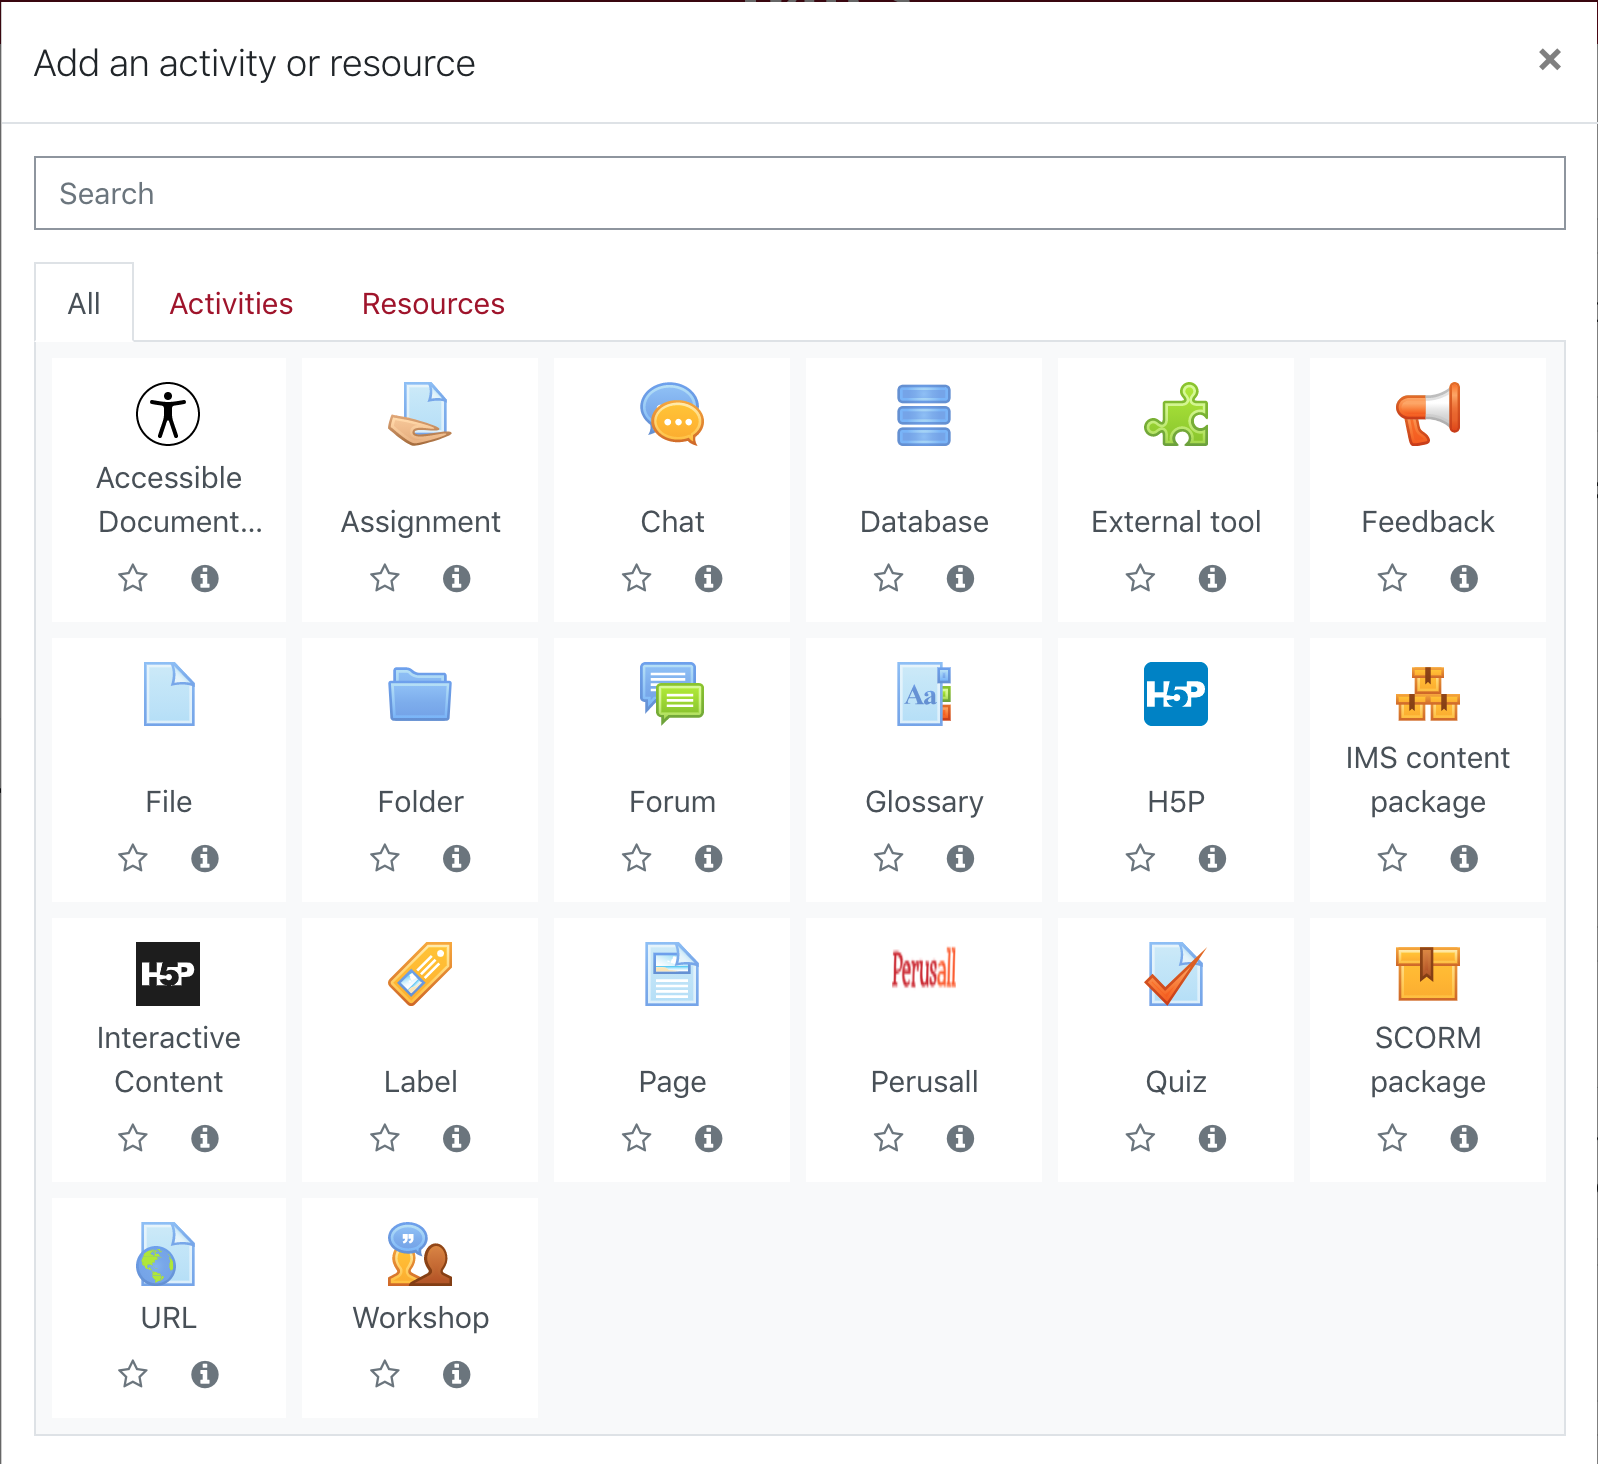
- From the list that appears, scroll down to the bottom under ‘Resources’
- Select ‘File’
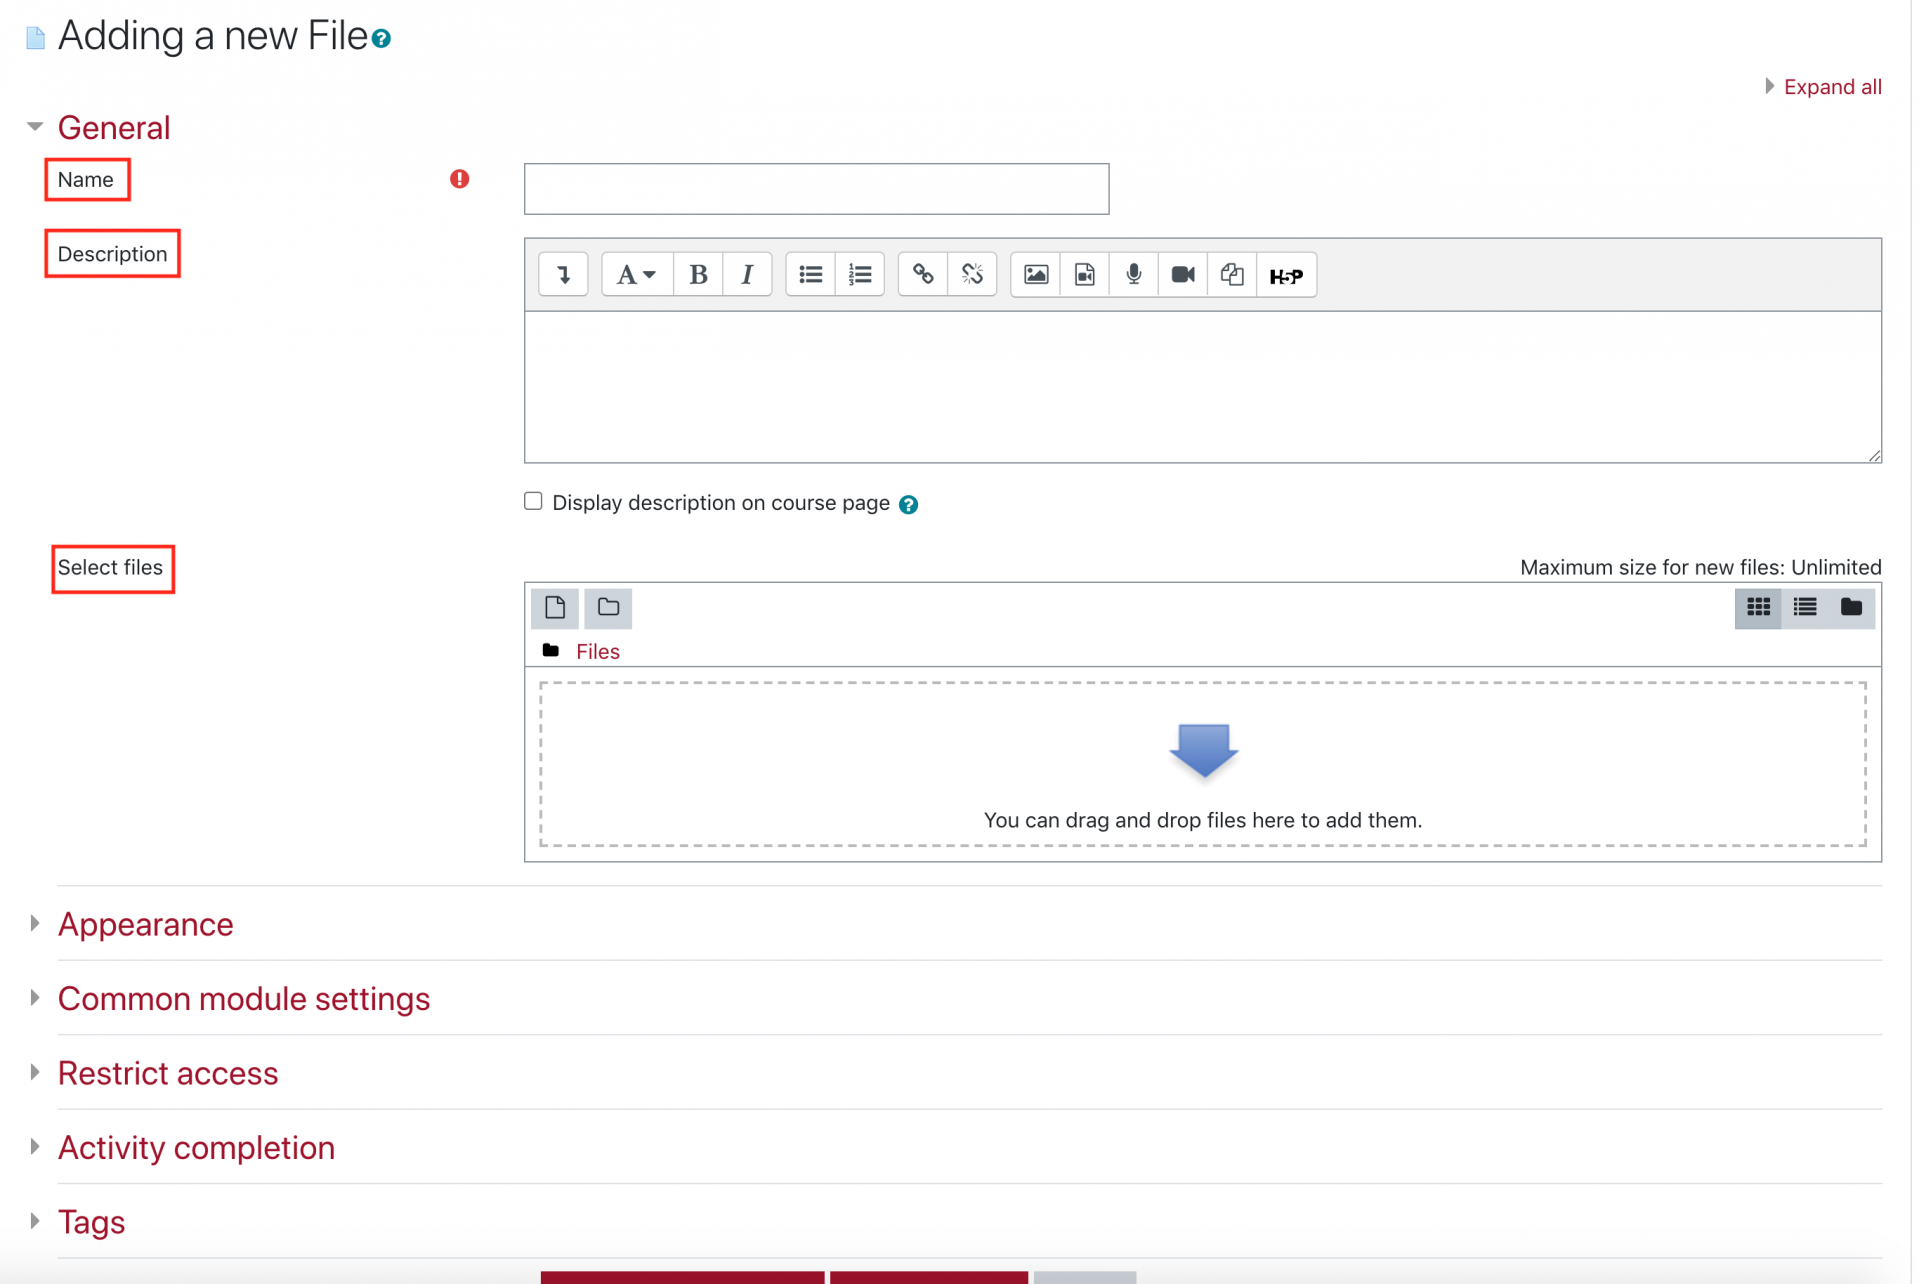
- You will be directed to the ‘Adding a new File’ page. Here you can add the title of the file, the description, the file itself, how the file appears to students, etc..
- The ‘General’ settings is where you can add the file within the ‘Select files’ field, the title within the ‘Name’ field, and the description within the ‘Description’ field. Note you can add multiple files, but only the first file added will be shown. We recommend you only add one file at a time
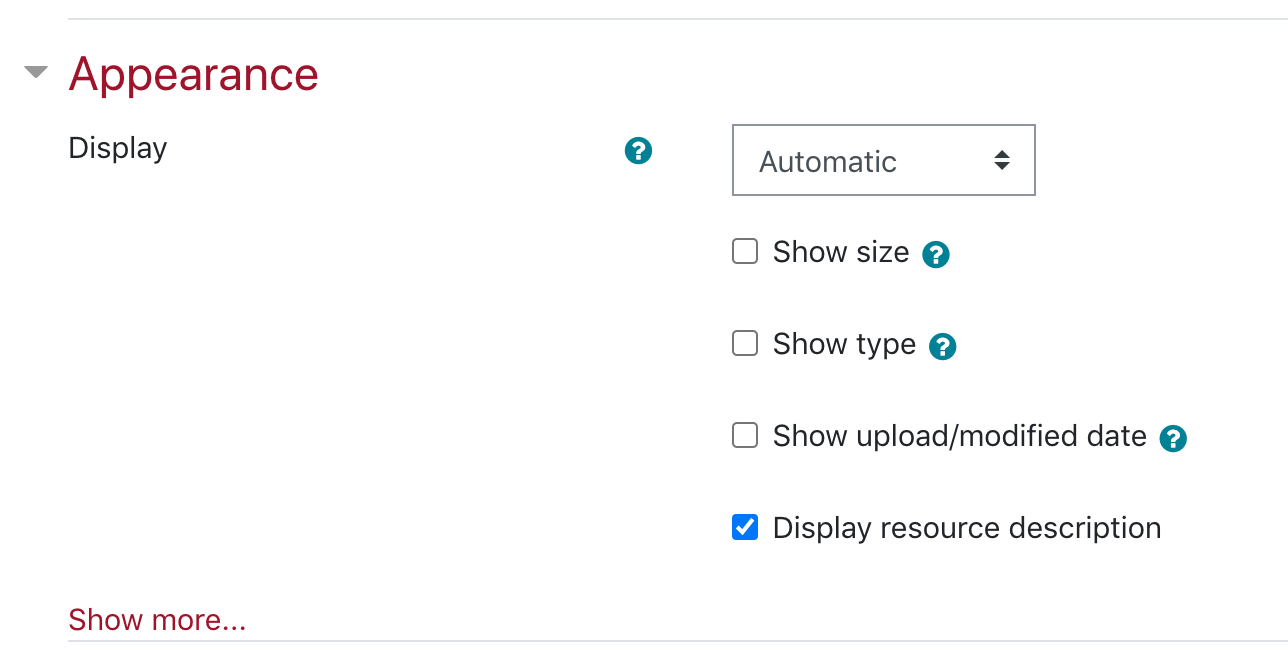
- The ‘Appearance’ setting is how the file will display. Note we recommend you keep this setting as default ‘Automatic’, where Lyceum will decide the best display option for that file type

- Once done customizing, select ‘Save and Display’ at the bottom of the page