Lyceum Course: Basic Setup
As an instructor, you have a lot of control over how your course appears to your students. This guide will help explain the different options when setting up your course.
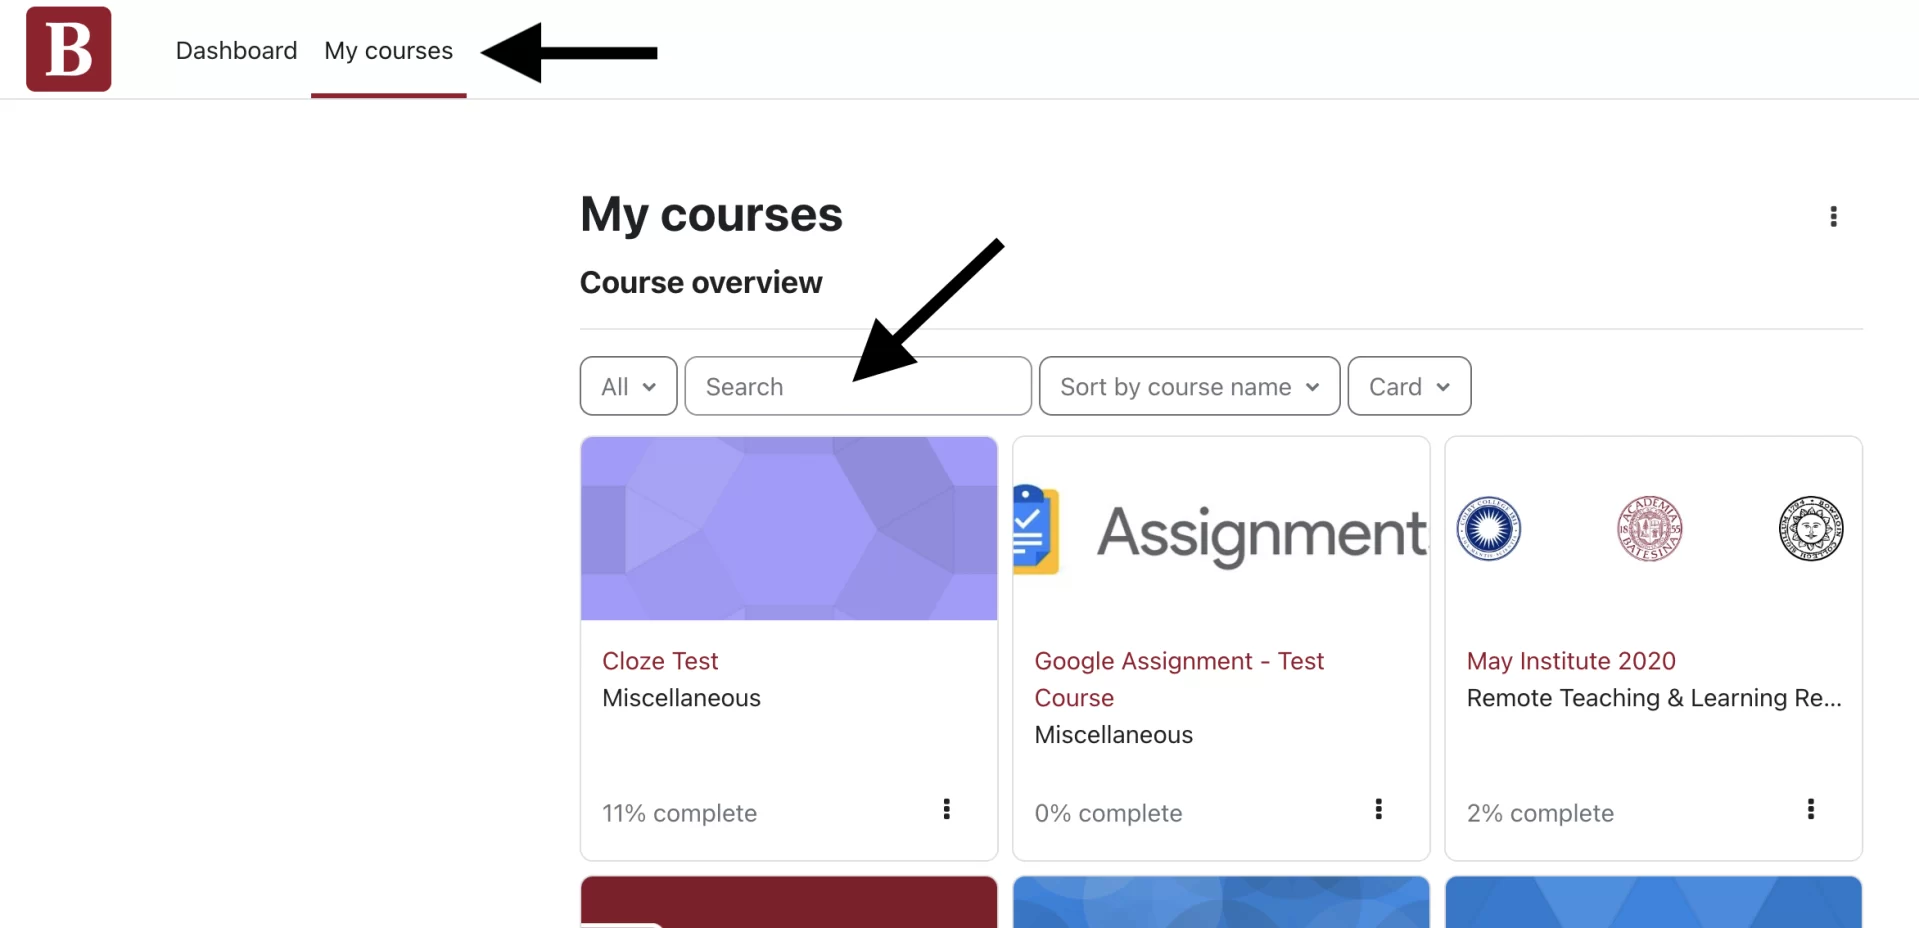
To see all courses available to you in Lyceum, Click the “My Courses” link at the top of your Dashboard page. My Courses has a search function, which allows you to find past courses using keyword searches.
Once you select the course that you would like to setup, you will be directed to the course homepage. In the upper right corner you will see a ‘Edit mode’ toggle button:
You will also see a Settings option in your main navigation bar, which when selected will list various options that you can customize within your course homepage, such as changing the visibility of your course for students (show/hide).
Adding and Editing Content
Click the ‘Edit mode’ toggle to edit your course page and add or edit content.
Adding Files
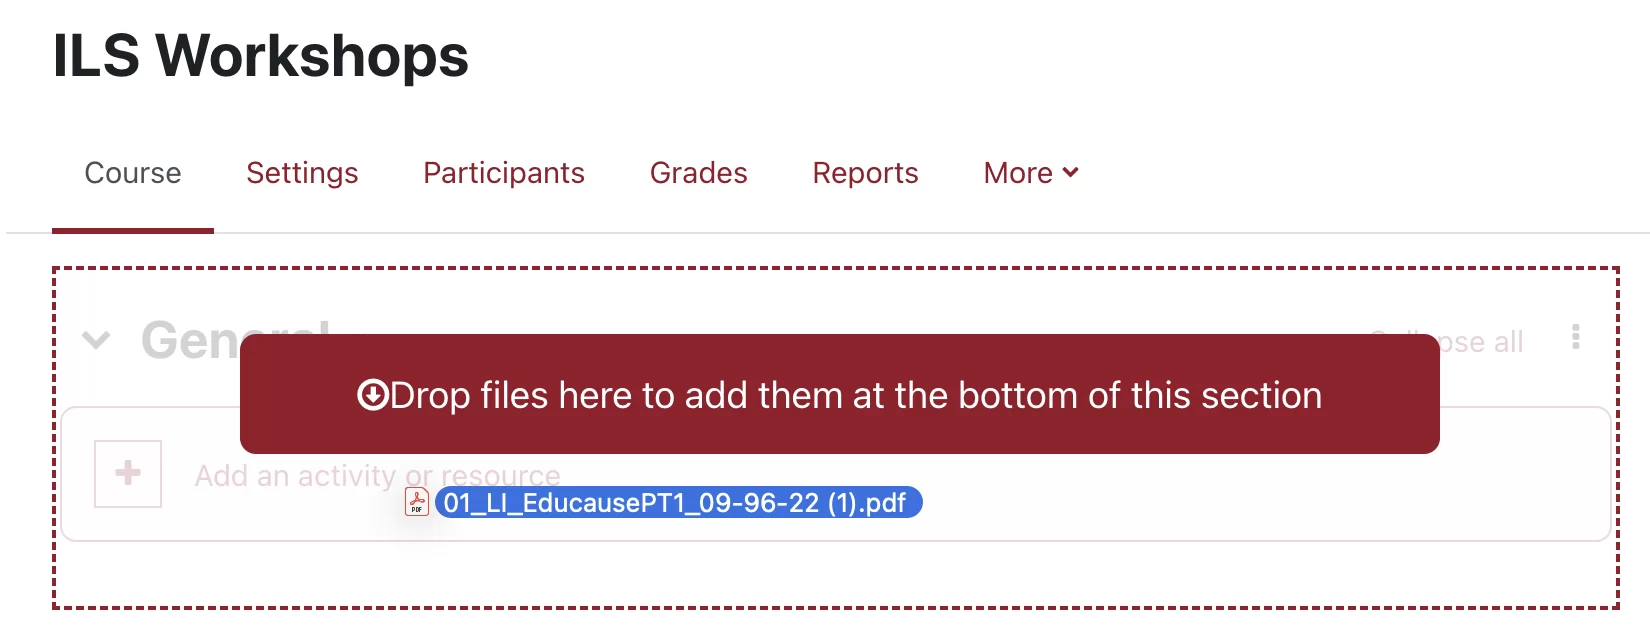
You can add your own file(s) by dragging and dropping them directly into your Lyceum course from your computer.

Adding Activities and Resources
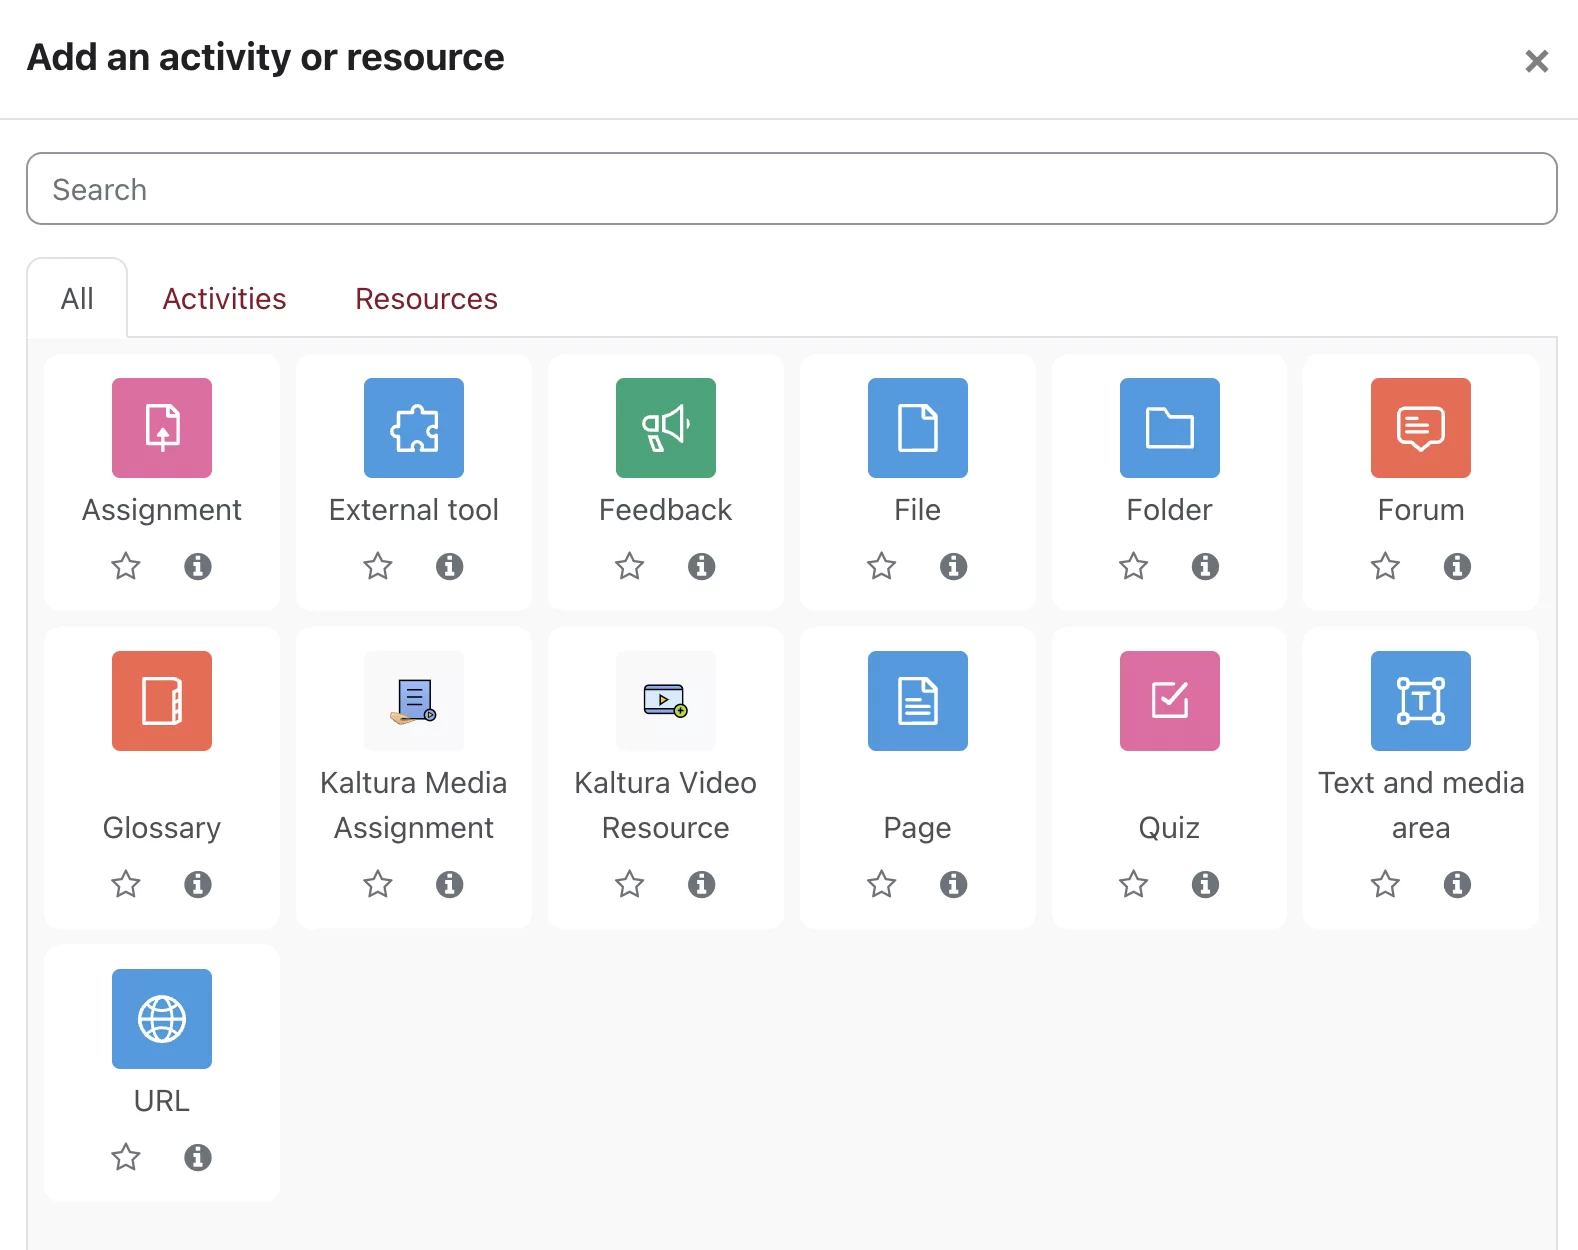
You can add different activities and resources using the ‘Add an activity or resource’ buttons.
You will be presented with a variety of different types of activities and resources that can be added as content in your course. By default, all of the activities and resources will be viewable, but you can select the ‘Activities’ tab to view only the activities, or the ‘Resource’ tab to view only the resources.
Note you can also ‘star’ any of the activities or resources you use most often or search for particular ones using the search bar above:
- Assignment – The assignment activity enables an instructor to communicate tasks, collect work, and provide grades and feedback. This can be used as something similar to a ‘drop box’ for collecting online assignments
- External Tool – The external tool activity enables students to interact with learning resources and activities on third party web sites that partner with Lyceum. For example, an external tool could provide access to Perusall or InQuizitive
- Feedback – The feedback activity enables an instructor to create a custom survey for collecting feedback from participants using a variety of question types including multiple choice, yes/no or text input
- File – The file resource enables an instructor to provide a file as a course resource
- Folder – The folder resource enables an instructor to display a number of related files inside a single folder, reducing scrolling on the course page
- Forum – The forum activity enables participants to have asynchronous discussions i.e. discussions that take place over an extended period of time
- Glossary – The glossary activity enables participants to create and maintain a list of definitions, like a dictionary, or to collect and organize resources or information
- Kaltura Media Assignment – This activity allows students to submit Kaltura media to their instructors for grading
- Kaltura Video Resource – This resource allows instructors to use Kaltura in order to upload large video files, create video quizzes, and generate screen recordings for student consumption
- Page – The page module enables an instructor to create a web page resource using the text editor. A page can display text, images, sound, video, web links, and embedded code, such as Google Maps and Youtube videos
- Quiz – The quiz activity enables an instructor to create quizzes comprising questions of various types, including multiple choice, matching, short-answer and numerical
- Text and Media Area – This resource, formerly known as Label, enables text and multimedia to be inserted into the course page in between links to other resources and activities. This resource is very versatile and can help to improve the appearance of a course if used thoughtfully i.e. announcements, titles, descriptions, etc.
- URL – The URL module enables an instructor to provide a web link as a course resource
Editing Existing Content
You can also edit sections, items and content (via the three-dot menu to the right of each section or item) within your course.

If you would like to edit the item or content, follow the tutorial Edit Course Items
If you would like to edit the section, you will be presented with the options to
- Edit topic/week – This option will allow you to edit the name of the section and its summary
- Highlight – If using the Topics course format, this option will create a red highlight next to the topic on the page
- Hide topic/week – This option will hide the entire section from student view
- Delete topic/week – This option will delete the entire section, including its contents
You are also able to decide how many sections or weeks you would like in your course. Scroll to the very bottom of your course and select the option to Add Topic or Add Week.


